How Much Does It Cost To Install An Electric Car Charger At Home?

If you’ve recently joined the growing number of electric vehicle (EV) owners in Colorado, one of the first questions you might have is: “How much will it cost to install an electric car charger at home?” While the price can vary depending on your setup and the type of charger you choose, we’ve broken down the typical costs, what influences them, and how to plan for your installation.

In the Denver metro area, the average cost to install a Level 2 EV charger at home typically ranges from $500 to $2,000. This price includes both the charger unit and professional installation by a licensed electrician.

  • Level 1 Charger: Usually included with your vehicle, plugs into a standard outlet, and has minimal to no installation cost — but it’s slow, often taking 20+ hours for a full charge.

  • Level 2 Charger: Requires a 240-volt outlet (similar to an electric dryer) and charges much faster — typically 4–8 hours for a full charge. This is the most common choice for homeowners upgrading their setup.

Cost Factors to Consider

  1. Type of Charger

    • Plug-in model: Easier to install; can be moved if you relocate.

    • Hardwired model: Cleaner look and more permanent; often preferred for outdoor installs.

  2. Electrical Panel Capacity

    • If your panel has enough capacity, installation is straightforward.

    • If you need an electrical panel upgrade, costs can increase by $1,000–$3,000.

  3. Distance from Panel to Charger Location

    • Running wiring across a garage or to a detached structure can add labor and material costs.

  4. Permits and Code Requirements

    • Many Colorado municipalities require a permit and inspection for EV charger installation.

    • Permit fees range from $50 to $200 on average.

  5. Additional Features

    • Smart chargers with Wi-Fi, app controls, and scheduling features cost more upfront but can save on energy costs long-term.

Potential Rebates and Incentives

Colorado is one of the more EV-friendly states when it comes to incentives. Depending on your location and utility provider, you may qualify for:

  • Xcel Energy rebates (up to $500 for home charger installation)

  • Federal tax credits (up to 30% of equipment and installation costs, capped at $1,000)

  • Additional state or local incentives that can significantly reduce your out-of-pocket expense

Tip: Always check current rebate programs before scheduling installation.

Getting Started

If you’re in the Denver metro area, start by contacting a licensed electrician with EV charger installation experience. Ask for:

  • A site visit to assess your electrical panel

  • A written estimate with a breakdown of labor, materials, and permit fees

  • Guidance on charger brands and features best suited for your driving habits

Bottom Line

For most Colorado homeowners, $500–$2,000 is a realistic range for a standard Level 2 charger installation. Costs can be much lower if you already have the right electrical setup — or higher if major upgrades are needed. With available rebates and the convenience of charging at home, many EV owners find the investment pays off quickly in both time saved and driving convenience.

What’s a Heat Pump and why should you know the answer?

A heat pump is basically an air conditioner that also provides heating in addition to cooling. Heat pumps work by transferring heat from one place to another. In the winter, it extracts heat from the outside air and transfers it inside the home. In the summer, it does the reverse, removing heat from inside the home and releasing it outside. Heat pumps are up to four times more efficient than traditional heating!

Although this HVAC technology may sound new, it’s not. Heat pumps have been used as primary heating and cooling systems in homes since the 1970’s, but were limited to warmer more southern climates due to the heat pumps inability to source enough heat from the exterior in the winter. That has changed with the development and advancement of “cold climate air source heat pumps”. Cold climate air source heat pumps can reliably heat a home down to 0 degrees outside temperature or even lower. These systems can be combined with a gas furnace or electric resistance backup for more reliability.

Ok this is cool, but why should you know about heat pumps?

Because heat pumps are more efficient and do not require natural gas to operate, they are becoming increasingly popular at a fast pace. Denver, Xcel Energy, the state energy office and the federal government are heavily incentivizing the switch to heat pump technology with substantial rebates and tax credits. It’s possible to replace a standard A/C unit with a heat pump that will provide all of the cooling the A/C provided, along with reliable heating as well. Heat pump technology has also been applied to water heating and is a more efficient water heating option than a standard tank unit.

For more information on available local rebates, check out our Energy Efficiency and Electrification Resource Guide.

What To Know About Aluminum Wiring

If you are purchasing a home built or renovated between the mid 1960’s and the mid 1970’s it’s important that your inspector look closely to identify if single-strand aluminum wiring is present. The below article “Inspecting Aluminum Wiring” written by InterNACHI explains what aluminum wire is, why it’s important and what to do about it.

Inspecting Aluminum Wiring by Nick Gromicko, CMI® and Kenton Shepard 

Between approximately 1965 and 1973, single-strand (solid) aluminum wiring was sometimes substituted for copper branch-circuit wiring in residential electrical systems due to the sudden escalating price of copper. After a decade of use by homeowners and electricians, inherent weaknesses were discovered in the metal that lead to its disuse as a branch wiring material. Aluminum will become defective faster than copper due to certain qualities inherent in the metal. Neglected connections in outlets, switches and light fixtures containing aluminum wiring become increasingly dangerous over time. Poor connections cause wiring to overheat, creating a potential fire hazard. In addition, the presence of single-strand aluminum wiring may void a home’s insurance policies. Inspectors may instruct their clients to talk with their insurance agents about whether the presence of aluminum wiring in their home is a hazard, a defect, and a problem that requires changes to their policy language.

According to the InterNACHI Home Inspection Standards of Practice, a home inspector is required to report upon single-strand, solid conductor aluminum branch-circuit wiring, if observed by the home inspector. 

Facts and Figures 

  • On April, 28, 1974, two people were killed in a house fire in Hampton Bays, New York. Fire officials determined that the fire was caused by a faulty aluminum wire connection at an outlet.

  • According to the Consumer Product Safety Commission (CPSC), "Homes wired with aluminum wire manufactured before 1972 ['old technology' aluminum wire] are 55 times more likely to have one or more connections reach "Fire Hazard Conditions" than is a home wired with copper."

Aluminum as a Metal
Aluminum possesses certain qualities that, compared with copper, make it an undesirable material as an electrical conductor. These qualities all lead to loose connections, where fire hazards become likely. These qualities are as follows:

  • higher electrical resistance. Aluminum has a high resistance to electrical current flow, which means that, given the same amperage, aluminum conductors must be of a larger diameter than would be required by copper conductors.

  • less ductile. Aluminum will fatigue and break down more readily when subjected to bending and other forms of abuse than copper, which is more ductile. Fatigue will cause the wire to break down internally and will increasingly resist electrical current, leading to a buildup of excessive heat.

  • galvanic corrosion.  In the presence of moisture, aluminum will undergo galvanic corrosion when it comes into contact with certain dissimilar metals.

  • oxidation. Exposure to oxygen in the air causes deterioration to the outer surface of the wire. This process is called oxidation. Aluminum wire is more easily oxidized than copper wire, and the compound formed by this process – aluminum oxide – is less conductive than copper oxide. As time passes, oxidation can deteriorate connections and present a fire hazard.  

  • greater malleability. Aluminum is soft and malleable, meaning it is highly sensitive to compression. After a screw has been over-tightened on aluminum wiring, for instance, the wire will continue to deform or “flow” even after the tightening has ceased. This deformation will create a loose connection and increase electrical resistance in that location.

  • greater thermal expansion and contraction. Even more than copper, aluminum expands and contracts with changes in temperature. Over time, this process will cause connections between the wire and the device to degrade. For this reason, aluminum wires should never be inserted into the “stab,” “bayonet” or “push-in” type terminations found on the back of many light switches and outlets.

  • excessive vibration. Electrical current vibrates as it passes through wiring. This vibration is more extreme in aluminum than it is in copper, and, as time passes, it can cause connections to loosen.

Identifying Aluminum Wiring

  • Aluminum wires are the color of aluminum and are easily discernible from copper and other metals.

  • Since the early 1970s, wiring-device binding terminals for use with aluminum wire have been marked CO/ALR, which stands for “copper/aluminum revised."

  • Look for the word "aluminum" or the initials "AL" on the plastic wire jacket. Where wiring is visible, such as in the attic or electrical panel, inspectors can look for printed or embossed letters on the plastic wire jacket. Aluminum wire may have the word "aluminum," or a specific brand name, such as "Kaiser Aluminum," marked on the wire jacket. Where labels are hard to read, a light can be shined along the length of the wire.

  • When was the house built? Homes built or expanded between 1965 and 1973 are more likely to have aluminum wiring than houses built before or after those years.

Options for Correction

Aluminum wiring should be evaluated by a qualified electrician who is experienced in evaluating and correcting aluminum wiring problems. Not all licensed electricians are properly trained to deal with defective aluminum wiring. The CPSC recommends the following two methods for correction for aluminum wiring:

  • Rewire the home with copper wire. While this is the most effective method, rewiring is expensive and impractical, in most cases.

  • Use copalum crimps. The crimp connector repair consists of attaching a piece of copper wire to the existing aluminum wire branch circuit with a specially designed metal sleeve and powered crimping tool. This special connector can be properly installed only with the matching AMP tool. An insulating sleeve is placed around the crimp connector to complete the repair. Although effective, they are expensive (typically around $50 per outlet, switch or light fixture).

Although not recommended by the CPSC as methods of permanent repair for defective aluminum wiring, the following methods may be considered:

  • application of anti-oxidant paste. This method can be used for wires that are multi-stranded or wires that are too large to be effectively crimped.

  • pigtailing. This method involves attaching a short piece of copper wire to the aluminum wire with a twist-on connector. the copper wire is connected to the switch, wall outlet or other termination device. This method is only effective if the connections between the aluminum wires and the copper pigtails are extremely reliable. Pigtailing with some types of connectors, even though Underwriters Laboratories might presently list them for the application, can lead to increasing the hazard. Also, beware that pigtailing will increase the number of connections, all of which must be maintained. Aluminum Wiring Repair (AWR), Inc., of Aurora, Colorado, advises that pigtailing can be useful as a temporary repair or in isolated applications, such as the installation of a ceiling fan.

  • CO/ALR connections. According to the CPSC, these devices cannot be used for all parts of the wiring system, such as ceiling-mounted light fixtures or permanently wired appliances and, as such, CO/ALR connections cannot constitute a complete repair. Also, according to AWR, these connections often loosen over time.

  • alumiconn. Although AWR believes this method may be an effective temporary fix, they are wary that it has little history, and that they are larger than copper crimps and are often incorrectly applied. 

  • Replace certain failure-prone types of devices and connections with others that are more compatible with aluminum wire.

  • Remove the ignitable materials from the vicinity of the connections.

In summary, aluminum wiring can be a fire hazard due to inherent qualities of the metal. Inspectors should be capable of identifying this type of wiring.

https://www.nachi.org/aluminum-wiring.htm

How Often Should You Paint Your Home’s Exterior?

Repainting your home's exterior isn't just about curb appeal, it's a key part of protecting your investment. On average, most homes need a fresh coat of paint every 5 to 10 years, but that timeline can vary based on local climate, siding material, and the quality of the last paint job.

Watch for signs it’s time to repaint:

  • Fading or chalky residue

  • Cracking, peeling, or blistering paint

  • Exposed wood or raw siding

Of course, exterior maintenance goes beyond just paint. Regular cleaning, power washing, and timely repairs can extend the life of your paint job and keep your home looking sharp. And when the time comes to repaint, investing in high-quality materials and a skilled professional makes all the difference.

A well-maintained exterior doesn’t just boost value - it helps prevent costly repairs down the line.

Sump Pump vs. Sewage Ejector Pump: What’s the Difference?

When it comes to keeping your basement dry and your plumbing flowing smoothly, two systems often come into play: sump pumps and sewage ejector pumps. While they may sound similar, they serve very different purposes. Here's a breakdown to help you understand the difference and why it matters.

What Is a Sump Pump?

A sump pump is designed to remove groundwater that collects in a sump pit, usually located in the lowest part of a basement or crawlspace. This pump activates automatically when water levels rise and sends the water away from the home, often through a discharge pipe that leads outside.

Purpose:

Prevent basement flooding

Protect foundation from water damage

Manage high water tables or heavy rains

Common in Homes With:

Basements below the water table

Poor exterior drainage

History of water intrusion

What Is a Sewage Ejector Pump?

A sewage ejector pump is used to pump out wastewater from bathrooms, laundry rooms, or other plumbing fixtures located below the main sewer or septic line. Since gravity alone can’t move waste upward, an ejector pump is installed to push it up into the main sewer system.

Purpose:

Move solid and liquid waste from basement bathrooms or laundry

Prevent sewage backups

Comply with plumbing code in finished basements

Includes a Sealed Pit: Unlike a sump pit, a sewage ejector basin must be sealed to contain odors and gases, and is connected to a vent stack.

If you’re finishing your basement or purchasing a home with plumbing below grade, make sure your system is correctly installed and maintained.

Top 10 Inspection Topics Every Colorado Agent Should Understand

We are always impressed when an agent is able to intelligently communicate inspection findings and knowledge to their client during the inspection process. Having a working knowledge of common inspection issues can help you set expectations, avoid surprises, and win major credibility with clients.

Here are the top 10 home inspection topics every residential agent in Colorado should be familiar with:

🏠 Top 10 Inspection Topics in Colorado

  1. Aluminum Wiring
    Common in homes built mid-60s to mid-70s. Is a fire hazard if not properly repaired and is flagged for detailed evaluation and repair.

  2. Federal Pacific & Zinsco Panels
    These outdated electrical panels are known to fail under load and are always called out for replacement.

  3. High Radon Levels
    Radon is common in Colorado due to our geology. Anything ≥ 4.0 pCi/L is recommended for mitigation.

  4. Polybutylene & Galvanized Pipes
    These older plumbing materials are prone to failure and often lead to insurance or resale concerns.

  5. Aging HVAC Systems
    Furnaces over 25 years and A/Cs over 15 years are at or near end-of-life. 

  6. Asbestos-Containing Materials
    Common in older homes (especially popcorn ceilings, duct wrap and flooring). Asbestos can’t be confirmed visually and testing is required for confirmation.

  7. Roof Age & Condition
    Understanding roof hail damage and claims is key in our climate. Knowing what to do with an inspector's findings is key.  Insurance companies often require documentation or inspection.

  8. Grading & Drainage Issues
    Poor grading can lead to foundation moisture issues, especially with Benonite clay soils in Colorado.

  9. Sewer Line Concerns
    Root intrusion, bellies, and breaks are common. Sewer scopes are highly recommended—even on newer homes.

  10. Structural Movement
    Colorado’s expansive Bentonite clay soils can cause foundation shifting or settlement cracks. Minor cracks = common. Major displacement = concern.

How to Know if You Can Add Air Conditioning to a Heat-Only Home

This is one of the most common questions we get from buyers touring homes without air conditioning: Can I add A/C?

The short answer is yes—you can add A/C to almost any home. The longer answer? It depends on the home’s existing heating system, the budget, and how much work you're prepared to take on. Here’s a quick breakdown of what to consider when evaluating this with your clients.

Key Factors to Consider:

  1. Forced Air Furnace = Easiest Path
    If the home already has a forced air furnace, that’s great news. The ductwork is already in place, so installing a central A/C system is typically straightforward and cost-effective.

  2. Boiler System = Bigger Lift
    Homes heated by a boiler (radiators, baseboards, etc.) do not have ductwork, so adding central A/C will require installing a separate duct system. An increasingly popular alternative? Ductless mini-split systems, which are easier to retrofit and provide room-by-room control.

  3. Evaporative Cooler Present?
    It’s a common misconception that an existing swamp cooler limits your A/C options. In reality, evaporative coolers and A/C systems operate independently. A home can technically have both—but most homeowners opt to remove the evaporative cooler once A/C is installed.

BOTTOM LINE:
Almost every home can be upgraded with air conditioning, but the cost and complexity vary greatly depending on the existing heating setup. Knowing what system is in place—and what alternatives are available—can help set the right expectations for your buyers and open the door for helpful vendor referrals.

Pro tip: If installing A/C, consider heat pump options that provide both heating and cooling. Split system heat pumps are available that look and operate just like a traditional A/C, but with the added benefit of providing efficient heating to supplement a furnace. 

Colorado Reg 8: What You Need to Know About Asbestos Compliance

Colorado’s Regulation 8 requires asbestos inspection and compliance whenever renovation or demolition disturbs a certain amount of material, regardless of the home’s age—since even new buildings can contain asbestos.

Key Takeaways:

Age Doesn’t Exempt You

Reg 8 triggers inspection requirements based on the amount of material disturbed.

Under Colorado Reg 8, any renovation or demolition that disturbs asbestos-containing materials (ACM) must be inspected if the following thresholds are exceeded in a single-family dwelling:

  • 50 linear feet of pipe insulation

  • 32 square feet of other surface materials (e.g. drywall, ceiling texture)

  • Or the volume equivalent to a 55‑gallon drum of material

Know the Thresholds

Under Colorado Reg 8, any renovation or demolition that disturbs asbestos-containing materials (ACM) must be inspected if the following thresholds are exceeded in a single-family dwelling:

  • 50 linear feet of pipe insulation

  • 32 square feet of other surface materials (e.g. drywall, ceiling texture)

  • Or the volume equivalent to a 55‑gallon drum of material

Permitting and Timing

If asbestos is found—or assumed—the contractor must notify CDPHE and wait 10 working days before removing it. Skipping this step can result in permit delays and fines.

Best Practice

When advising clients on renovations or inspections, remind them to ask about Reg 8 testing early with their contractor, and verify it’s completed if their scope triggers the thresholds.

If you plan any remodel or demolition—even in newer homes—make sure asbestos compliance under Reg 8 is on your radar. Our intention is to educate, not alarm. We want to ensure that our clients are properly informed so that future costly surprises are avoided.

Heat Pumps vs. Traditional HVAC: Which Provides More Comfort & Control

Home comfort comes up in the buying journey, especially with older homes. But the comfort difference isn't just about temperature. Let's break down why heat pumps are quietly revolutionizing how homes feel with consistent, zoned comfort and cleaner air. Scroll to the end of this email for exclusive savings offers.

Temperature Consistency

Furnaces work by blasting super hot air, waiting for the ambient temperature to drop to an uncomfortable level, then cycling back on. Heat pumps provide steady, consistent temperatures based on your precise settings.

Heat pumps are the Goldilocks appliance

Maintaining a consistent temperature that’s not too cold, not too hot, but just right. Not the rollercoaster ride of traditional heating.

Heat Pumps are a Win-Win for Buyers & Sellers

  • Instant buyer impression: Comfort is felt within minutes of entering

  • Health appeal: No indoor air pollution from burning gas

  • Modern expectation: Outselling gas furnaces since 2022

  • Federal & local incentives: $2K federal tax credit makes upgrades attractive, the average Xcel rebate for a heat pump system is $8K

Heat pumps have moved from niche to mainstream in Colorado - they're efficient, comfortable and healthier to live in.

Air Quality of Clean Electric vs. Combustion Fumes

Heat pumps don't burn anything, which means no unhealthy fumes in your home like gas furnaces produce.

  • Health Benefits: No combustion fumes, better air circulation

  • Impact: Cleaner indoor air, no stuffy rooms

  • Buyer Value: health-conscious families, immediate comfort

  • Especially valuable for families with allergies or buyers prioritizing indoor air quality.

Heat Pumps are Especially Attractive to Landlords and STR Hosts

Heat pump comfort is noticeable within minutes:

  • No hot/cold blasts from vents

  • Whisper-quiet operation (no furnace roar)

  • Fresh, clean air without combustion odors

  • Even temperatures throughout every room

Pro Tip: Airbnb hosts who actively market their eco-friendly bonafides, like heat pumps, attract environmentally conscious travelers and see increased occupancy.

Alpine Building Performance is Partnering with Zero Homes!
Are you a real estate agent who also owns a rental property or short-term rental? You may be eligible for $500 off your own heat pump installation with Zero Homes - just install by June 30 and use this exclusive referral code:ABP_ZERO

Looking to help your clients make their homes more energy-efficient?
Zero Homes is offering $500 if one of your clients purchases a heat pump with them by June 30. Simply give them this referral code: ABP_HEATPUMPS


Check out this free resource from Zero Homes:
Heat Pumps 101:A Guide for 2025

📞 Questions? Contact Zero Homes:
303-848-8606 - abp@zerohomes.io

What's Crackin'? Foundations and Expansive Soils in Colorado, Part 3: Crawl Space Foundations

What's Crackin'? Foundations and Expansive Soils in Colorado, Part 3: Crawl Space Foundations

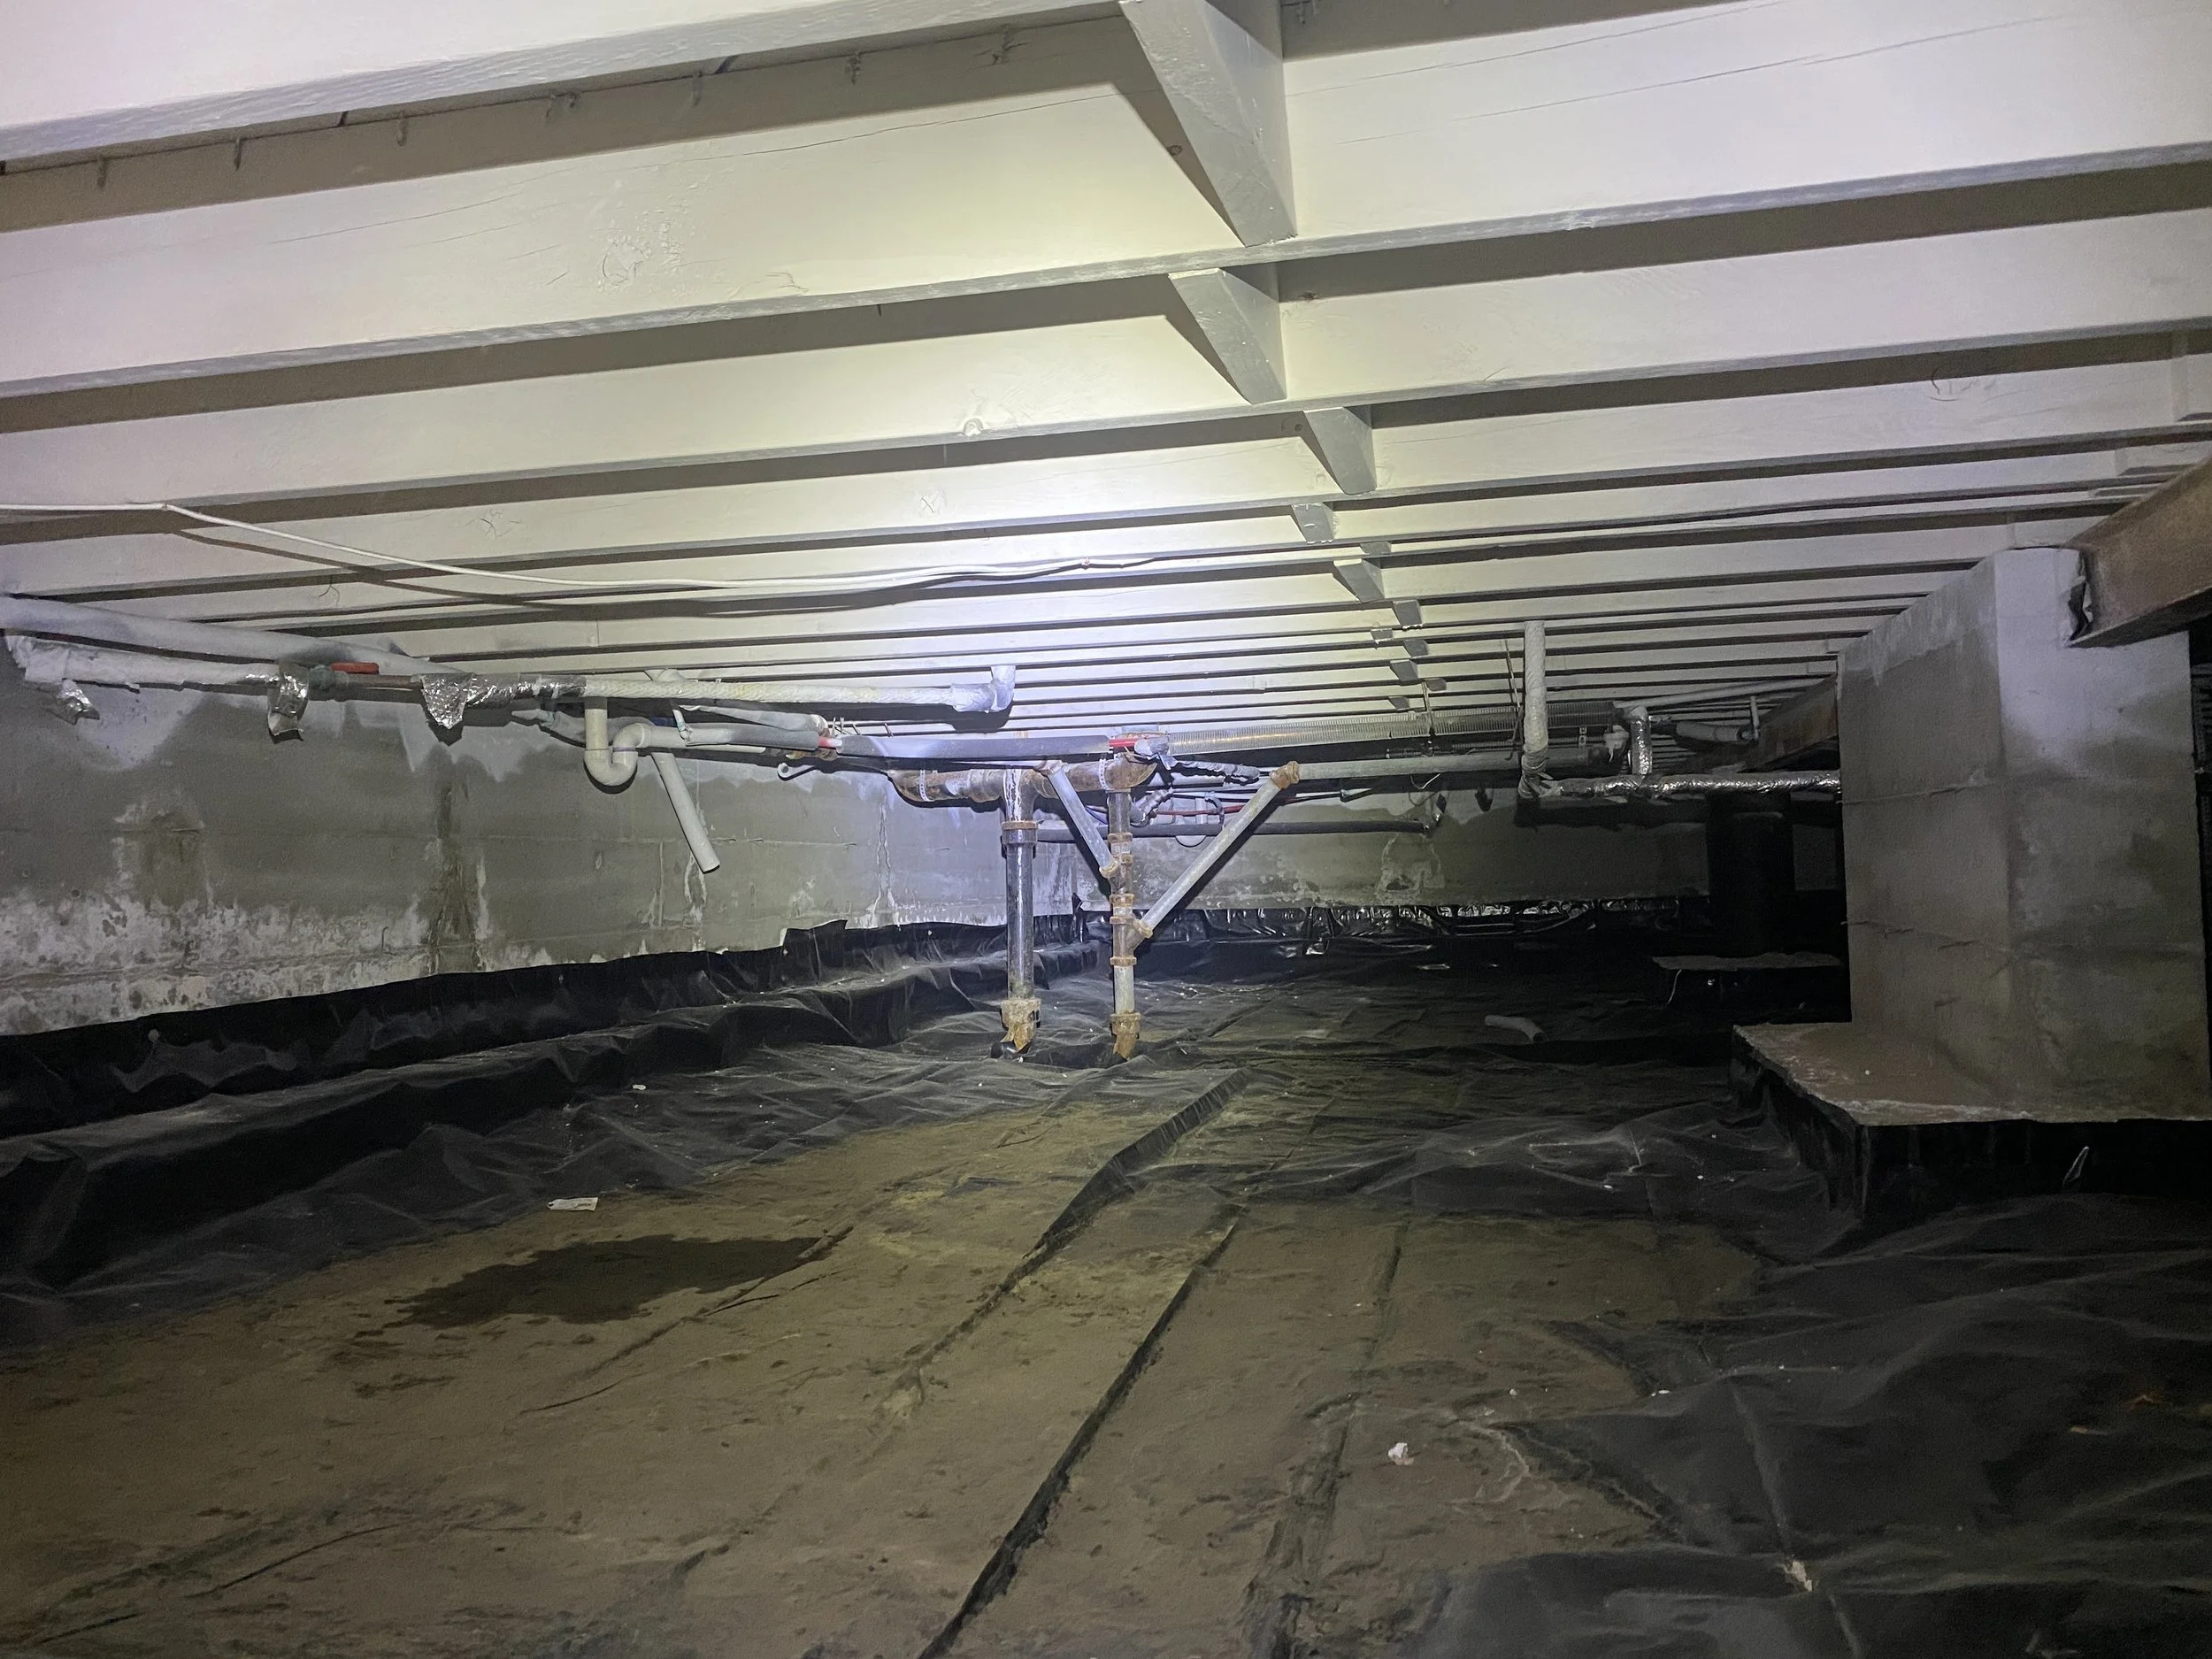
Crawl space foundations, while common, require proactive maintenance to prevent moisture intrusion, structural movement, and energy loss. Understanding how expansive soils interact with crawl space foundations can help homeowners protect their investment and ensure a stable, comfortable living environment.

What's Crackin'? Foundations and Expansive Soils in Colorado, Part 2: Basement Foundations

What's Crackin'? Foundations and Expansive Soils in Colorado, Part 2: Basement Foundations

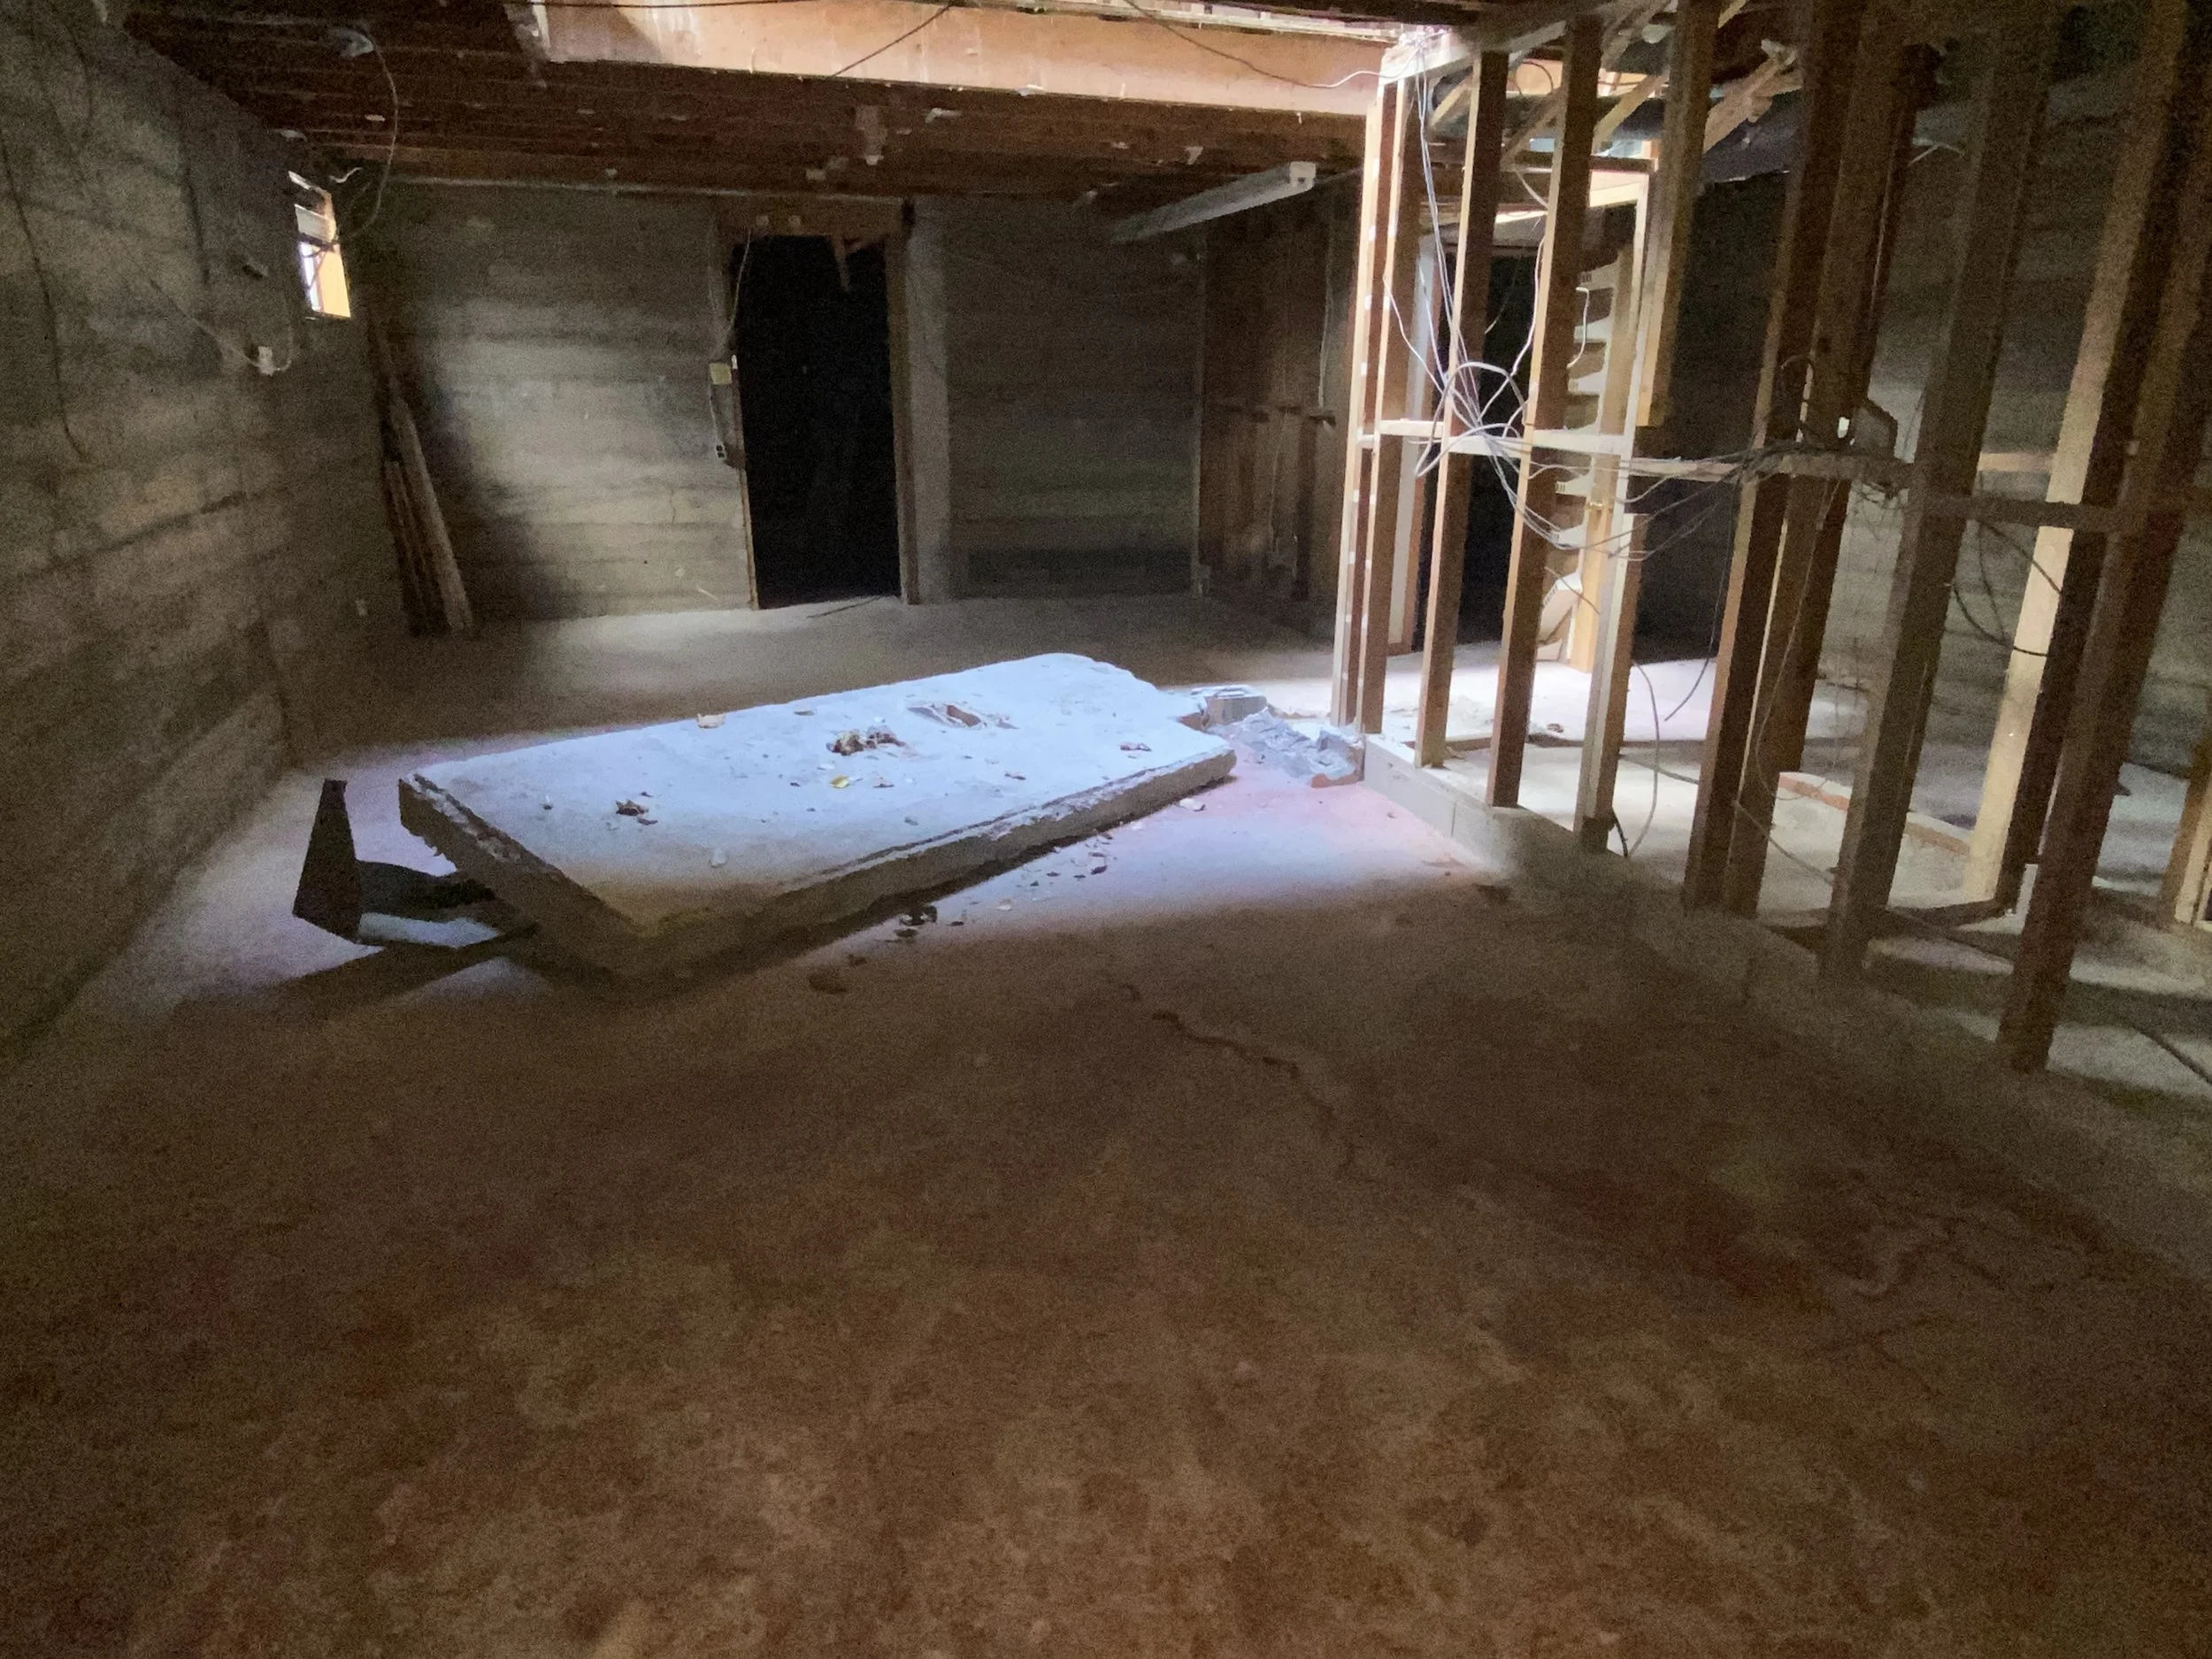
Basements are an extremely common feature in Colorado homes due to the region’s expansive soils and the need for additional living space. While basements provide valuable square footage and extra protection against the elements, they also introduce unique structural challenges. In this installment of our series, we’ll explore common basement foundation types, potential defects, and how to determine when foundation issues require further evaluation.

R-410A Is Out, R-454B Is In – Here’s What You Need to Know

Another big shift is happening in the HVAC world that you need to be aware of. As of January 2025 the HVAC industry began phasing out R-410A refrigerant in A/C units and is switching to R-454B.

Didn’t this just happen with R-22?

Yes. The HVAC industry just completed the transition from R-22 to R-410A in 2020, and now they’re doing it again.

Why? Simply put, R-454B was chosen as a replacement to R-410A because it offers similar cooling performance but is about 4 times more environmentally friendly from an ozone and global warming standpoint.

Here’s what this means for you and your clients:

- Older A/C Systems: If a home has an HVAC unit with R-410A, it will still work - but servicing it will get pricier as the refrigerant becomes less available.

- Newer A/C Systems: After 2025, all new units will use R-454B, which isn’t compatible with older systems. That means replacing just part of an HVAC system won’t always be an option.

- For Buyers & Sellers: If a home’s A/C is 10+ years old, it’s worth checking the refrigerant type and planning ahead for potential costs.

Fortunately this phase out will be less abrupt than the R-22 phase out, but it’s good to be aware of so you can make informed decisions over the coming years.

How Long Does A Deck Typically Last And How Often Should A Wood Deck Be Sealed?

The lifespan of a wood deck can vary depending on a number of factors, including the type of wood used, the climate in the area, the level of maintenance it receives, and the amount of foot traffic and exposure to the elements it experiences.

In general, a well-built and well-maintained wood deck can last anywhere from 10 to 30 years or more.

To help extend the life of a wood deck, it's important to regularly clean it and inspect it for any signs of damage or wear, such as loose boards or rotting wood. Additionally, applying a high-quality sealant or stain to the deck can help protect it from moisture, UV rays, and other environmental factors that can contribute to deterioration.

The frequency with which a wood deck should be sealed can depend on a number of factors, including the type of sealant used, the climate in the area, and the amount of use and exposure to the elements the deck experiences.

As a general rule, however, most experts recommend that homeowners plan to seal their wood decks every 1 to 3 years.

Some signs that it may be time to reseal the deck include faded or discolored wood, rough or splintered surfaces, or water that no longer beads up on the surface of the wood.

Check out this rebate and tax credit calculator for Colorado Homeowners

Did you know that there are significant rebates and tax incentives available for Colorado homeowners to help offset the cost of home energy efficiency and electrification upgrades? 

Sharing this info is a great touch point to your sphere, AND a potential way to leverage these rebates and incentives to help offset the repair or replacement costs of home inspection related repairs. 

To help distill this information, we have put together our own local incentive resource guide here. You can also check out this helpful calculator from Rewiring America here.

Make sure to take advantage of these incentives whenever possible and to educate your clients about what’s available to them. We have also linked our resource guide to our home inspection reports for all relevant recommendations for ease of reference. The last thing we want is for someone to leave this money on the table. 

As always, reach out to us with any questions.

What is “Home Hardening”?

Did you know that embers, not direct flames, are the main cause of house fires during a wildfire?

“Home Hardening” helps protect homes by making them more resistant to embers, heat, and flames. This includes modifying structural materials, design, and the surrounding environment.

Examples of some home hardening measures include:

  • Use fire-resistant roofing (metal, tile, or Class A shingles).

  • Cover vents with metal mesh (1/8-inch or finer).

  • Seal gaps in eaves, rooflines, and siding.

  • Replace combustible siding with fire-resistant materials like stucco or fiber-cement.

With increasing wildfire threats and insurance challenges, home harding will become more relevant in the coming years. Educate yourself now to stay ahead of the curve and prepare your home for the evolving homeowners insurance requirements.

To learn more about home hardening, check out this link:

Here is an example of a home spared in the recent LA fires aided largely by home hardening measures:

What is the probability of Lead Based Paint pre-1978?

We all know that lead based paint (LBP) is a concern for pre-1978 homes, but did you know that the probability of LBP being present in a home heavily depends on its year of construction.

According to the U.S. Environmental Protection Agency (EPA):

  • Homes built before 1940, Appx. 87% contain lead-based paint.

  • Homes built between 1940-60, appx. 69% contain lead-based paint.

  • Homes built between 1960-78, appx. 24% contain lead-based paint.

The use of lead-based paint was banned in residential properties in the U.S. in 1978, so homes built after that year are unlikely to contain it. As with any environmental testing, the only way to confirm the presence of something is to test, but these figures can help you to better understand LBP risks by construction date.

Fortunately we now know that lead is a neurotoxin and should never have been used in household paint, but why was it ever used to begin with?

  • Durability - Lead in paint increased durability, longevity and moisture resistance.

  • Fast drying times - Lead sped up the paint drying process.

  • Color enhancement - Lead pigments provided brighter and longer lasting color.

  • Corrosion resistance - Lead helps protect metal from rust.

Lead is still permitted in certain industrial applications such as road and parking markers and in exterior industrial applications such as steel bridges, but was banned in residential paint and coatings in 1978.

How Recent LA Wildfires May Impact Colorado Homeowners Insurance

Homeowners insurance in Colorado's foothills has become increasingly challenging since the Marshall Fire in December 2021, which caused over $2B in damages. The recent wildfires in Los Angeles and rising natural disasters nationwide are straining the insurance industry, and Colorado homeowners will feel the impact sooner than you may think.

Insurers are reassessing wildfire risks, potentially leading to:

Premium Increases: Higher rates in wildfire-prone areas like Colorado. Local insurers are now saying that it’s not just the foothills that are being assessed as high wildfire risk.

Policy Cancellations: Many carriers are not renewing policies in high-risk areas, especially the foothills.

Stricter Coverage Requirements: Homeowners may need fire mitigation measures (e.g., defensible space, home hardening) to maintain coverage. On site inspections will be required in many cases to obtain and maintain coverage.

Reduced Coverage Options: Some insurers may limit wildfire claims or cap payouts. The Colorado FAIR Plan will provide basic coverage, but it may come with challenges.

Now is the time to educate yourself and clients on fire mitigation. More to come on "Home Hardening" and what you need to know to keep your homes protected.

Why Window Replacements Aren’t the Top Energy Efficiency Fix

The window industry is going to hate me for this, but this is a topic that I have studied in depth since I began my education and career in the home performance profession in 2007. 

When it comes to improving home energy efficiency, it’s a common belief that replacing windows should be the first step. While upgrading old windows does help improve home comfort and efficiency, it’s almost always not the most impactful or cost-effective home performance solution.

Here’s why:

  • Heat Loss Priorities: The biggest sources of energy loss are typically poorly insulated attics, walls, and basements/floors—not windows. Just think about how much surface area your windows account for as compared to your walls, floors and ceilings.

  • Cost vs. Benefit: High-performance windows are expensive, but their energy savings may take decades to offset the upfront cost. The cost of wall, attic and flooring insulation is relatively low.

  • Air Sealing is Key: Drafts and leaks around doors, vents, and other openings contribute significantly to energy loss. Sealing these gaps can have an immediate impact.

For the most impactful results and high ROI, prioritize insulation and air sealing, then consider window upgrades as part of a long-term energy plan. Investing in these areas first ensures the greatest return on your energy efficiency improvements.

With that being said, every home is different and it’s always best to start with a comprehensive Home Energy Audit to assess, determine and prioritize your options for energy efficiency optimization. While we have deep roots in home energy audits, we do not currently offer this service, but do have some local recommendations on our Home Service Provider list.

Significant rebates, tax credits and incentives are available for home energy audits and home efficiency upgrades through the utility companies and on the local, state and federal level. Be sure to check out our Energy Efficiency and Electrification Resource Guide for more information.

Foundation Moisture Prevention

We have said it before, and we will say it again and again. Moisture management is critical when it comes to your home. We have seen firsthand how proactive steps can save homeowners from major headaches down the road, and conversely how improper moisture management has caused floods, structural issues and mold. Below are some tips to know and share.

Ensure Proper Grading Around the Home

  • The ground should slope away from the foundation at least 6 inches over the first 10 feet. This helps direct water away from the house.

  • At the very least, just make sure that water is draining AWAY from the home.

Maintain and Extend Downspouts

  • Downspouts should discharge water at least 4-6 feet away from the foundation.

  • Recommend installing downspout extensions to prevent water from collecting near the foundation.

Clean and Repair Gutters

  • Clogged or damaged gutters can cause water to overflow and seep into the foundation. Water spilling over from clogged gutters led to a lot of basement flooding last year during the heavy rainfalls that hit the Denver-Metro area.

  • Regularly clean gutters, especially in the fall.

  • Suggest ensuring all gutter joints are sealed and securely attached.

Install a French Drain or Drainage System

  • If the property has a history of water pooling near the foundation, recommend consulting a professional to install a French drain or other drainage solutions.

Check for Cracks in the Foundation

  • Small cracks can allow water to seep in. Inspect the foundation regularly and use an appropriate sealant to fill any minor cracks.

  • For larger cracks, suggest consulting a structural engineer or foundation specialist.

Maintain Proper Landscaping

  • Trees and shrubs should be planted at least 5-10 feet from the foundation to prevent root intrusion and soil moisture issues.

  • Opt for native plants that require less water, reducing the risk of over-saturating the soil.

Install a Sump Pump

  • In areas prone to heavy rainfall or high water tables, a sump pump can help remove excess water from around the foundation.

  • Recommend testing the sump pump regularly to ensure it's operational.

Waterproof the Basement or Crawl Space

  • Suggest using waterproof paint or sealants on basement walls to reduce moisture intrusion.

  • Install a vapor barrier in crawl spaces and ensure that it’s properly sealed.

Monitor Drainage After Heavy Rain

  • Walk around the property after a rainstorm to check how water is draining and identify any problem areas early.

What you Need to Know About Outdated Electrical Panels

You may already be an expert at guiding your clients through the home-buying or selling process, but here’s a tip that could save everyone some headaches. Check the electrical panel. Seriously, it’s one of those details that can make or break a smooth transaction.

Electrical panels are the heart of a home’s electrical system, but not all panels are created equal. Some older models or specific brands have a track record of safety issues, and get flagged during a home inspection possibly leading to expensive negotiations. Being proactive about identifying potential panel problems early on can help you set realistic expectations for your clients. Which Panels Raise Red Flags?

Federal Pacific Electric (FPE) Panels: These panels are notorious for failing to trip during electrical surges, significantly increasing fire risks.

Zinsco Panels: Known for overheating and melting, these panels are a serious safety hazard.

Fuse Boxes: Often found in older homes, they weren’t built to handle the demands of modern electrical usage.

Pushmatic Panels: These panels lack a main breaker, which complicates emergency shut-offs and can lead to safety concerns.

If you know the home has an outdated panel, suggest replacing it before listing to avoid surprises. You can prepare your buyers and let them know that certain panels might need to be upgraded, especially in older homes before inspection.